 es


 Guía de productos
How to set up a soundproof pod for Google Meet hardware
Instead of reconnecting a laptop, camera and microphone for every call, set up Google Meet hardware in a soundproof pod, enrol the device and assign the pod’s calendar so colleagues can book the space and join scheduled meetings from its controller. Treat the acoustic enclosure, conferencing equipment and room booking as separate parts of the workflow; test them together before opening bookings.
- For a Google Meet hardware soundproof pod setup, configure device enrolment, room booking and audio separately.
- Soundbox Store acoustic office pods offer single-person and small-team formats; match capacity to the people attending locally.
- Dedicated Google Meet hardware needs its own supported equipment and administration; a pod purchase does not establish compatibility.
- Use one active microphone-and-speaker system inside the pod to avoid duplicate audio.
Why this matters
A quiet enclosure does not select the right microphone, enrol a meeting device or connect a calendar. Those are separate jobs. Finish the room workflow, not just the video call.
Soundbox Store acoustic office pods suit businesses creating dedicated spaces for private calls and small-team meetings. Choose the local attendance format first:
| Pod | Best for | Practical advantage | Limitation |
|---|---|---|---|
| Quell Office Pod Solo | 1 person attending private calls | A dedicated single-person phone booth | Not the format for colleagues attending together |
| Office Phone Booth Quell - 2 Person | 2 people meeting locally | A booth designed for two-person meetings | Does not accommodate a four-person local team |
| Quell - 4 Person Meeting Booth | 4 people attending together | A meeting enclosure designed to seat four | More local capacity than a solo caller needs |
These capacities describe the pod, not the camera’s field of view or the microphone’s coverage. Confirm the proposed equipment separately. Do not assume a booth includes Google Meet hardware, a display or a room controller.
Before you start
- Accounts and access: Arrange Google Workspace administrator access, the required Google Meet hardware licence and permission to manage the room’s calendar resource. Have the equipment supplier’s enrolment instructions ready.
- Equipment and workspace: Identify the exact supported conferencing kit, its required peripherals and the pod you intend to use. Ask IT to verify the network against Google’s current requirements and confirm the proposed equipment arrangement with the pod supplier.
- The easily missed gotcha: Creating a calendar called after the pod is not the same as creating a bookable room resource. The room resource must also be assigned to the meeting device for its schedule to appear correctly.
This guide covers software configuration and operational checks for an existing pod. Follow the relevant suppliers’ instructions for physical equipment setup; do not modify the enclosure to follow a generic conferencing guide.
Room format and equipment brief
- Define who attends locally. Record whether the normal meeting has one caller, a pair or a small team inside the booth. Count people in the pod, not remote participants.
- Choose the operating model. Use dedicated Google Meet hardware when the goal is a shared room device with a controller and room schedule. Use the laptop-led variant below when each caller brings their own computer.
- List the conferencing components. Record the meeting device, controller, camera, microphone, speaker and display included in the proposed kit. Identify anything supplied separately rather than assuming every component comes together.
- Check the equipment view. Ask the equipment supplier to confirm that the camera and audio arrangement suit the intended seating positions. A pod’s person capacity does not establish peripheral suitability.
- Name the room consistently. Use the same recognisable pod name in the equipment record, calendar resource and staff instructions. Avoid names that differ only by punctuation.
Expected result: You have a defined attendance format, a documented equipment list and a room name that people can recognise when booking.
For Soundbox Store meeting booths, base this brief on the selected product’s supplied information. The decision is not simply solo versus larger: it is whether the intended participants can use the proposed conferencing arrangement as planned.
A dedicated device reduces dependence on each caller’s laptop configuration, but it introduces shared-device administration. A laptop-led booth leaves the meeting controls with the user, but requires that user to select and check their own audio and video devices.
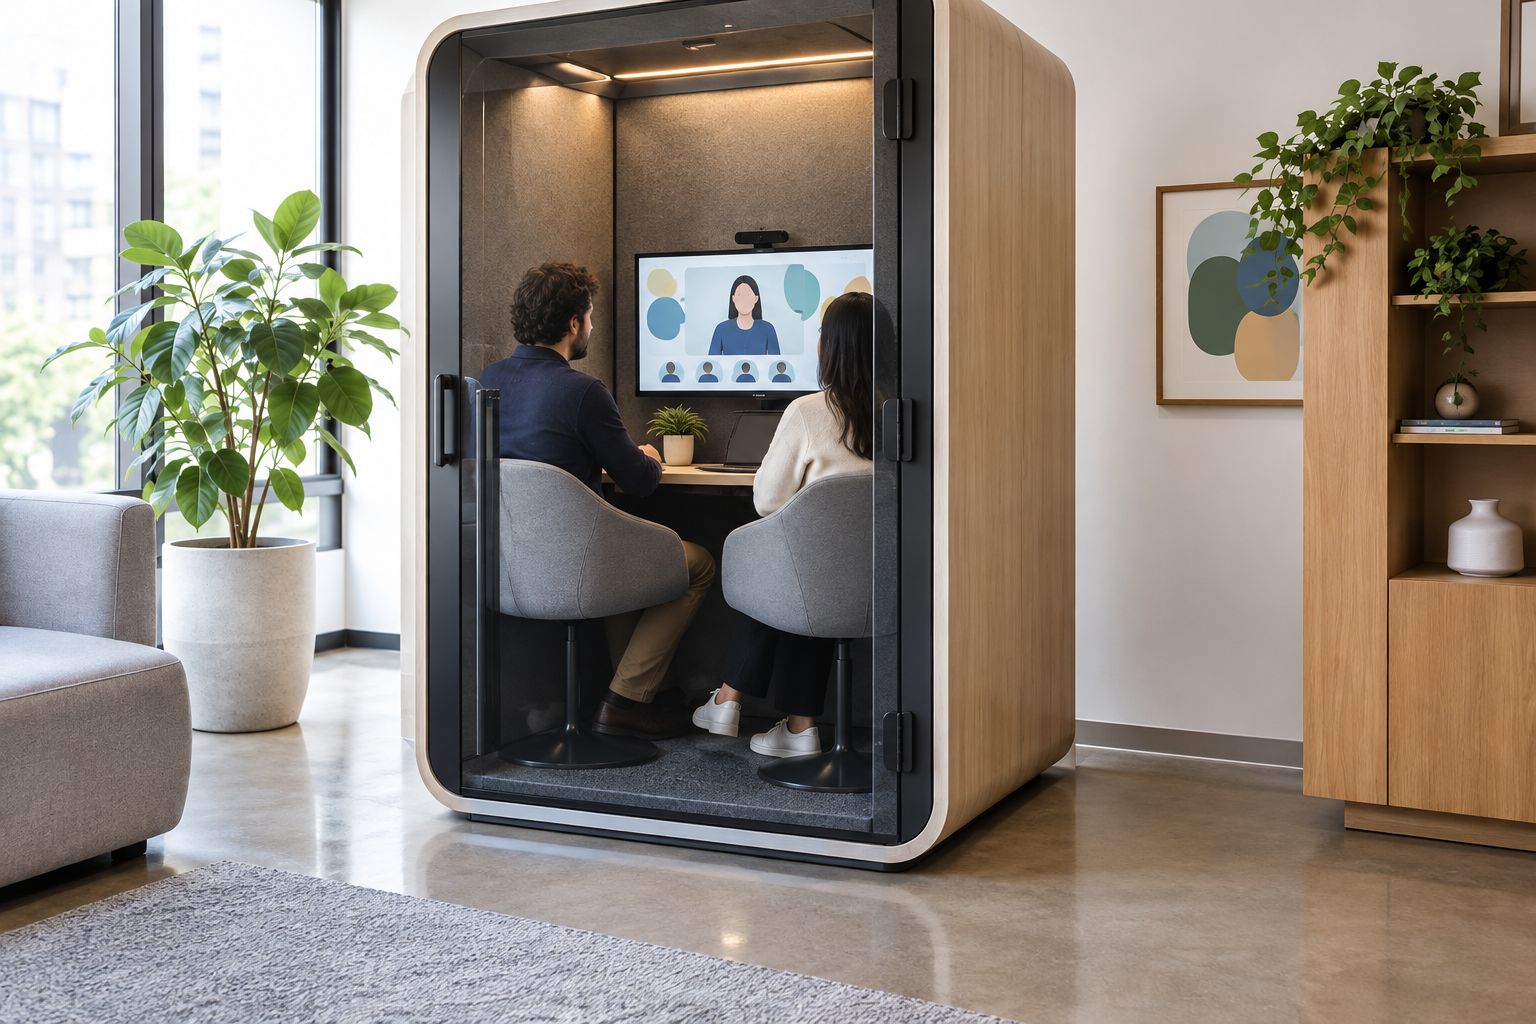
Device enrolment and network access
- Verify the network first. Ask IT to check the connection used by the meeting equipment against Google’s current Meet hardware network requirements. Test from the actual equipment location, not from a nearby desk.
- Follow the kit’s initial setup instructions. Use the equipment supplier’s documented process for starting the device and pairing its controller and peripherals. Setup screens differ between hardware kits; do not substitute a browser meeting’s settings for device enrolment.
- Enrol the device in your organisation. Use the authorised administrator account and Google’s enrolment process. Confirm that the required hardware licence is available before attempting enrolment.
- Find the enrolled device. In the Google Admin console, open Devices, then Google Meet hardware, then Devices. Select the device that corresponds to the pod and check its identity against your equipment record.
- Check device status and peripherals. Confirm that the device is online and that its intended camera and audio equipment are recognised. Resolve missing peripherals before configuring the booking workflow.
Expected result: The meeting device appears in the organisation’s hardware inventory and communicates with its intended peripherals.
Keep administrative ownership explicit. Record who handles hardware settings, network faults and room bookings; these are different responsibilities even when one person covers them all.
Do not use a successful laptop call as proof that dedicated hardware has network access. The laptop and room device can use different connections or network policies. Test the device that colleagues will actually use.
Calendar resource and meeting access
- Create or identify the pod’s room resource. In the Admin console, use Buildings and resources to manage the bookable space. Give the resource the agreed pod name and the correct local capacity.
- Set the resource’s booking behaviour. Ask the calendar administrator to configure invitation handling and booking permissions for your organisation. Confirm that overlapping requests are handled as intended.
- Assign the resource to the hardware. Return to the enrolled device in Google Meet hardware and assign the corresponding room calendar. Check the full resource identity rather than relying on a similar display name.
- Create a realistic test booking. In Google Calendar, create an event, select Add Google Meet video conferencing, and add the pod through Rooms. Invite a colleague who will join from outside the pod.
- Verify the room’s response. Check that the room has accepted the invitation and that the event appears on the room controller. Open the event details if the meeting is missing or has no joining information.
- Join from the controller. Start the scheduled call using the room device, not the organiser’s laptop. Confirm that the remote colleague sees and hears the pod’s equipment.
Expected result: A colleague books the pod as a room, its accepted meeting appears on the controller, and the room device joins the correct call.
Booking the space and adding a video meeting are separate actions. An event without a Meet joining link does not provide the same joining workflow as an event containing one.
Audio, camera and acceptance checks
- Use the room equipment as the primary audio system. Keep other computers inside the pod disconnected from meeting audio. Muting a laptop microphone alone leaves its speakers active.
- Check every intended seat. Ask each local participant to speak normally while the remote colleague listens. Check for missing words, uneven levels and distracting room sound rather than judging only from inside the booth.
- Check the camera preview. Confirm that intended participants appear in the frame and that the display does not obscure their view of the camera. Review the image with the pod in its normal working state.
- Test shared content. Present a document using the method supported by your equipment. Ask the remote colleague to confirm that they can read it and still follow the conversation.
- Test the next meeting. End the call, then join another scheduled meeting from the controller. Confirm that the workflow does not depend on the previous organiser remaining signed in on a personal laptop.
Expected result: Remote participants can follow speech, see local attendees and read shared content, while the next user can start a separate meeting.
Soundbox Store provides the acoustic workspace; configure and verify the conferencing system independently. A soundproof pod is not a substitute for a remote listening test. Do not interpret an acoustic enclosure as a guarantee that no sound is audible outside it.
Variant: use a laptop instead of dedicated room hardware
Best for: individual callers who bring their own computer. A laptop-led workflow uses Google Meet in the browser rather than an enrolled room device. It does not create a shared room controller simply because the laptop sits inside a booth.
- Book the pod through your organisation’s room-booking process, then open the intended Google Meet meeting on your laptop.
- Before joining, open More options, then Settings. Under Audio, select the intended Microphone and Speakers.
- Under Video, select the intended Camera. Review the preview before joining.
- Join the meeting and confirm audio with a remote participant. If another person joins from a second laptop inside the pod, keep that laptop out of meeting audio.
- End the call and remove personal equipment when finished. Leave shared peripherals in the agreed configuration.
Expected result: The caller uses their own account and meeting controls while the pod remains a separately bookable workspace.
This variant avoids room-device enrolment, but it does not remove user setup. Each caller remains responsible for choosing the correct peripherals and meeting link.
Troubleshooting
The booking is missing from the controller
Check that the event includes the actual room resource, that the room accepted it and that the device is assigned to that same resource. A personal calendar with a similar name is not interchangeable with a room resource. Check the event’s time zone as well.
The room appears, but there is no scheduled call to join
Open the calendar event and check for Google Meet joining details. Add conferencing to the event if appropriate, save the change and confirm the room’s event updates. A room reservation alone is not a video meeting.
Remote participants hear echo
Disconnect nearby laptops from meeting audio, leaving the room system active. If echo remains, check which microphone and speakers the room device is using. Ask the remote participant to repeat the test after each change so you can identify the cause.
The picture works, but remote participants cannot hear speech
Check the room’s mute state and whether the intended microphone is recognised. For the laptop variant, inspect the selected microphone and browser microphone permission. Test speech from every intended seat before treating the problem as solved.
Calls break up inside the pod
Ask IT to test the connection used by the actual meeting device. Check network access and connection quality before changing acoustic accessories. A clearer enclosure does not repair packet loss or an interrupted network connection.
Customise your workflow
Once the basic call works, test how people use the room without IT beside them. Ask a colleague who did not configure the system to book the pod, find the meeting, join it, share content and finish the call.
Keep the handover short:
- State whether callers use the room controller or their own laptop.
- Identify the room’s exact booking name.
- Explain which audio system stays active.
- Give a clear contact for booking problems and a separate route for equipment faults.
Standardise these instructions before adding more booths. Repeat the acceptance checks after changing a camera, audio device, network connection or room-calendar assignment.
FAQ
Can I use Google Meet hardware inside a soundproof pod?
You can plan a dedicated Google Meet hardware setup inside a pod, but confirm the exact equipment arrangement with both suppliers. Pod capacity alone does not establish camera coverage, peripheral suitability or hardware compatibility.
Does a soundproof pod include Google Meet hardware?
Do not assume a pod includes Google Meet hardware. Check the selected pod’s inclusions and list the conferencing device, controller, display and peripherals separately in your equipment brief.
Do I need a licence for dedicated Google Meet hardware?
Dedicated Google Meet hardware requires the appropriate hardware licence and organisational enrolment. Ask your Google Workspace administrator to confirm these before starting device setup.
Why is my pod booking not showing on the room controller?
Check the room invitation, its acceptance and the calendar resource assigned to the device. The booking and device must refer to the same room resource, and the event needs Meet joining details for the scheduled-call workflow.
Can I join from my laptop while the room hardware is connected?
Yes, but keep the laptop disconnected from meeting audio when the room system handles sound. Two active microphone-and-speaker systems in the same space can create echo.
Will a soundproof pod remove echo from Google Meet calls?
A soundproof pod does not automatically remove call echo. Check for duplicate audio connections, then verify the selected microphone and speakers with a remote participant.
One last thing
Your final test should start with an empty booking, not an open video call. Ask someone unfamiliar with the setup to complete the entire journey without prompting. A working camera proves the camera works; a successful booking-to-join test proves the pod is ready to share.


