 es/gb


 Guía de productos
How to connect a digital whiteboard to a soundproof pod
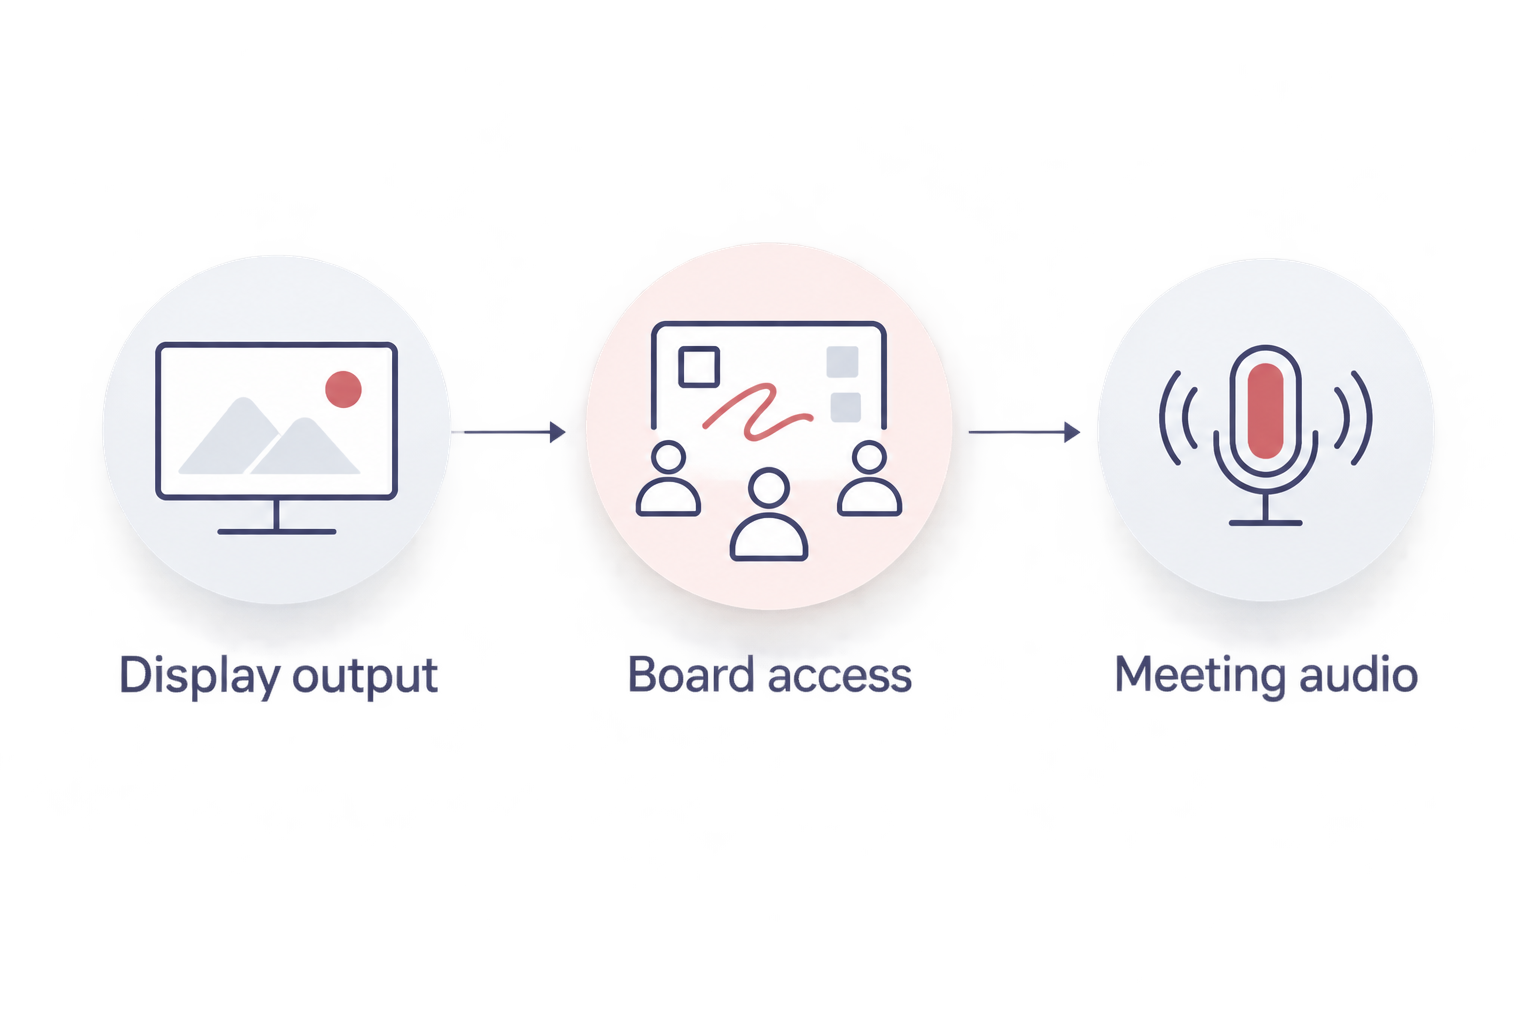
Instead of photographing sketches and emailing meeting notes, connect your digital whiteboard through a laptop in your soundproof pod so local and remote colleagues work from the same board. The laptop manages the display, board access and meeting audio; the pod provides the meeting space, not the software connection.
- For a digital whiteboard in a soundproof pod, use a laptop to manage the display and shared board.
- Soundbox Store meeting booths suit teams seeking private collaboration space; confirm digital whiteboard compatibility separately.
- A visible board is not necessarily editable: test display output and participant permissions independently.
- Use one meeting-audio endpoint inside the pod, then verify the experience with someone outside it.
Why this matters
A digital whiteboard workflow has separate connections: the laptop sends an image to a display, the board service shares content, and the meeting application carries conversation. Treating those as one connection makes faults harder to find.
Soundbox Store meeting booths are best for teams seeking a private space for shared discussions. Their suitability as a meeting space does not establish compatibility with a particular screen, touch interface or whiteboard application.
For a discussion involving two people inside the pod, the 2-person meeting booth provides the corresponding person capacity. Choose the collaboration workflow separately from the enclosure.
Before you start
- An existing equipment setup: have a working laptop, an already configured display or interactive whiteboard, and the manufacturer's connection instructions. This guide covers software configuration and meeting use, not fitting equipment to a pod.
- Account and network access: have access to your organisation's whiteboard application, meeting application and network. Ask the board owner to provide editing access before the session, especially for external participants.
- The easily missed distinction: a screen showing your laptop does not prove that touch input works. Video output and touch input are separate functions; confirm both in the equipment documentation if writing directly on the display is essential.
The example below uses Windows 11 display controls and an existing browser-based whiteboard. Board permissions remain specific to your organisation's chosen service, so use its actual sharing controls rather than assuming that possession of a link grants editing access.
Laptop and display configuration
Start with the display connection before opening the meeting application. This separates an equipment problem from an account or meeting-sharing problem.
Configure the display output
- Establish the laptop-to-display connection using the method documented for your equipment. Confirm that the laptop output, any adaptor and the display input support that method; a matching connector shape alone does not establish every function.
- On Windows 11, open Settings, select System, then select Display. Select Identify to match the on-screen display numbers to the screens in front of you.
- Choose the display arrangement that matches the session. Select Duplicate these displays when the pod screen should show the same content as the laptop, or Extend these displays when you need a separate workspace.
- Open a blank browser window on the intended screen. Move the pointer across the screen and confirm that everyone using the board can read the content from their normal position.
Expected result: the intended display shows the laptop's content, and you know whether it mirrors the laptop or acts as a separate desktop.
Select the working arrangement
Neither display mode is automatically better. Choose according to who needs to see the presenter's other windows.
| Display arrangement | Best for | Advantage | Limitation |
|---|---|---|---|
| Duplicate these displays | A presenter running a straightforward board session | Laptop and pod display show the same workspace | Other windows opened on that workspace are also visible locally |
| Extend these displays | A facilitator keeping notes separate from the board | Board and presenter notes occupy different desktops | Sharing the wrong display exposes the wrong content or leaves participants viewing an empty desktop |
Use duplicated displays for the simplest handover between presenters. Use an extended desktop when the facilitator needs separate notes and can reliably select the correct meeting-sharing source.
If the equipment supports touch, test it separately using the manufacturer's instructions. Do not treat successful video output as evidence that the laptop is receiving pen or finger input.
Shared board configuration
The whiteboard needs a clear owner and working permissions before anyone presents it. A board that opens successfully for its creator can still be inaccessible to everyone else.
Prepare the working board
- Sign in to your organisation's chosen whiteboard service using the account intended to own the session content. Create a board or open the existing project board.
- Give the board a descriptive project and session name. Avoid a generic name that makes the board difficult to distinguish from later workshops.
- Prepare clearly separated areas for the agenda, working ideas, decisions and follow-up actions. Put a sample note in the working area so participants can check visibility without using real discussion content.
- Use the service's sharing controls to grant the intended participants viewing or editing access. Confirm the audience and permission level before distributing the board link.
- Open the link using a participant's account, not merely another tab signed in as the owner. Ask that participant to add and remove a sample note.
Expected result: a participant can reach the correct board and perform the actions required for the session without using the owner's account.
Separate viewing from editing
Screen sharing and board access solve different problems. Screen sharing lets someone see the presenter's view; board permissions determine whether that person can open and change the underlying content.
For a presentation, viewing access can be sufficient. For brainstorming, give contributors editing access through the whiteboard service, then ask them to keep the live board open alongside the conversation.
Keep the board's ownership with the account or team responsible for the project. Otherwise, a meeting can finish successfully while the ongoing work remains tied to an account that colleagues cannot use.
Meeting and audio configuration
Connect the conversation only after the display and board access work independently. That order gives each test a clear purpose.
Share the board with remote participants
- Start the meeting on the designated laptop. Select the microphone and speaker intended to handle conversation inside the pod using the meeting application's device controls.
- Open the prepared board and place it on the display you intend to present. Close unrelated windows and hide notifications before sharing an entire screen.
- Use the meeting application's screen-sharing control to select the board window or the correct display. Select a window when you want to limit the shared content; select a display when the session requires moving between applications.
- Send the live board link through the meeting's agreed communication channel. Tell participants whether they should watch the presentation, edit the board, or do both.
- Ask a remote participant to confirm that the board is readable, conversation is clear and a new sample note appears. If editing is required, ask the participant to make a change too.
Expected result: someone outside the pod can hear the discussion, see the intended content and edit the board when granted permission.
Keep one active audio endpoint
Use one active meeting-audio endpoint inside the pod. Other participants can open the board on their own devices, but additional nearby microphones and speakers can produce feedback or echo when connected to the same meeting.
If another laptop joins for board editing, join without meeting audio where that option exists. Muting only its microphone does not silence its speakers, so check both audio directions.
Screen sharing is the viewing path; the board link is the collaboration path. Keep those paths distinct during the handover so a remote participant knows where to contribute rather than annotating a screenshot or typing ideas into meeting chat.
Match the booth to the people using the board
Choose person capacity around the people attending locally, not the total number of people invited online. Remote contributors use the shared board without occupying a place inside the booth.
Soundbox Store lists the following meeting booths for different local group sizes. These are capacity choices, not confirmed digital-whiteboard packages.
| Meeting booth | Best for | Useful fit | Limitation for this workflow |
|---|---|---|---|
| Quell - 4 Person Meeting Booth | Discussions with up to 4 people attending locally | Its supplied description identifies seating for four people | Person capacity does not establish screen compatibility or the working layout |
| Meeting Booth Quell - 6 Person | Discussions with up to 6 people attending locally | Its supplied description identifies a six-person meeting booth | The digital display, input method and viewing arrangement still require confirmation |
Choose the smallest listed person capacity that matches the actual local group, then confirm the complete working arrangement. Do not infer display provision, touch support or connectivity from the booth name.
For either booth, describe the intended session when checking suitability: who presents, who writes, which devices participants use and whether remote colleagues need to edit. Those details are more useful than asking only whether a booth supports a whiteboard.
Continue the same board after the meeting
A second useful workflow is asynchronous collaboration: participants return to the same board rather than starting again from an exported image.
- Before ending the meeting, identify the decisions and follow-up actions on the live board. Name the person responsible for each action in your team's normal format.
- Put the live board link in the project's existing shared workspace. An exported image is a record of a moment, not a replacement for the editable board.
- Confirm that the intended contributors retain the appropriate access. Separate people who need ongoing editing rights from those who only need to review the outcome.
- At the next session, reopen the same board and review the action area before adding new material. Check sharing again if the participant group changes.
Expected result: the board remains a working project resource rather than becoming an attachment that nobody updates.
The trade-off is ownership: an ongoing board needs someone to maintain its structure and permissions. Assign that responsibility explicitly instead of leaving it with whoever happened to present.
Troubleshooting
The display works, but touch does nothing
Video output and touch input are separate functions. Check the display manufacturer's documented touch connection and operating-system requirements, then test outside the meeting application before changing board settings.
Remote participants see the wrong screen
Stop sharing and check whether Windows is duplicating or extending the desktop. Move the board to the intended display, select the correct sharing source and ask a remote participant to confirm the view before continuing.
Participants can watch but cannot edit
Meeting screen sharing does not grant board permissions. Check the board's sharing audience, editing rights and the account the participant is using; external access can also depend on organisation settings.
The meeting produces echo
Check every device inside the pod that has joined the call. Keep the designated microphone and speaker active, and disconnect meeting audio on the other devices while leaving their board sessions open.
Board updates stop appearing
Check whether the board still shows an active connection, then test the network from the actual meeting position. Preserve any unsynchronised work using the application's available controls before refreshing or closing the board.
Customise your workflow
Build a repeatable handover rather than a long equipment checklist. Record the display mode, board owner, sharing source and designated audio endpoint in the team's meeting instructions.
For recurring workshops, prepare a reusable board structure with separate areas for discussion and decisions. Keep the instructions about software access distinct from the booth's product specifications: Soundbox Store provides the meeting-space options, while the selected equipment and applications determine the digital connection.
FAQ
How do I connect a digital whiteboard to a soundproof pod?
Connect the whiteboard workflow through a laptop or the whiteboard's supported computing system, rather than through the pod itself. Configure the display, grant board access and test meeting sharing as separate tasks.
Can I use a digital whiteboard without an interactive screen?
Yes, you can work on a digital whiteboard through its supported laptop interface and show it on a compatible display. Direct writing on the display requires separately supported touch or pen input.
Does connecting a display automatically enable touch?
No, a working picture does not establish touch input. Check the equipment manufacturer's documented connections and software requirements before planning a touch-led session.
Why can remote colleagues see my board but not change it?
Screen sharing provides a view, not editing permission. Share the live board through the whiteboard service and confirm that each contributor has the required account access and editing rights.
Do Soundbox Store meeting booths include digital whiteboard connectivity?
Do not assume digital whiteboard connectivity is included with a Soundbox Store meeting booth. Confirm the selected booth's equipment provision and the proposed display's connection requirements before choosing the setup.
Should everyone inside the pod join the video meeting with audio?
Use one active meeting-audio endpoint inside the pod. Other participants can use their devices for the board while keeping their meeting microphones and speakers disconnected.
One last thing
Run the final check from outside the pod. The presenter's view cannot reveal an inaccessible board link, the wrong shared screen or unclear remote audio; a participant using their own account can check all three.


